Pros and Cons of 12 volt vs 240 volt Camper Set Ups
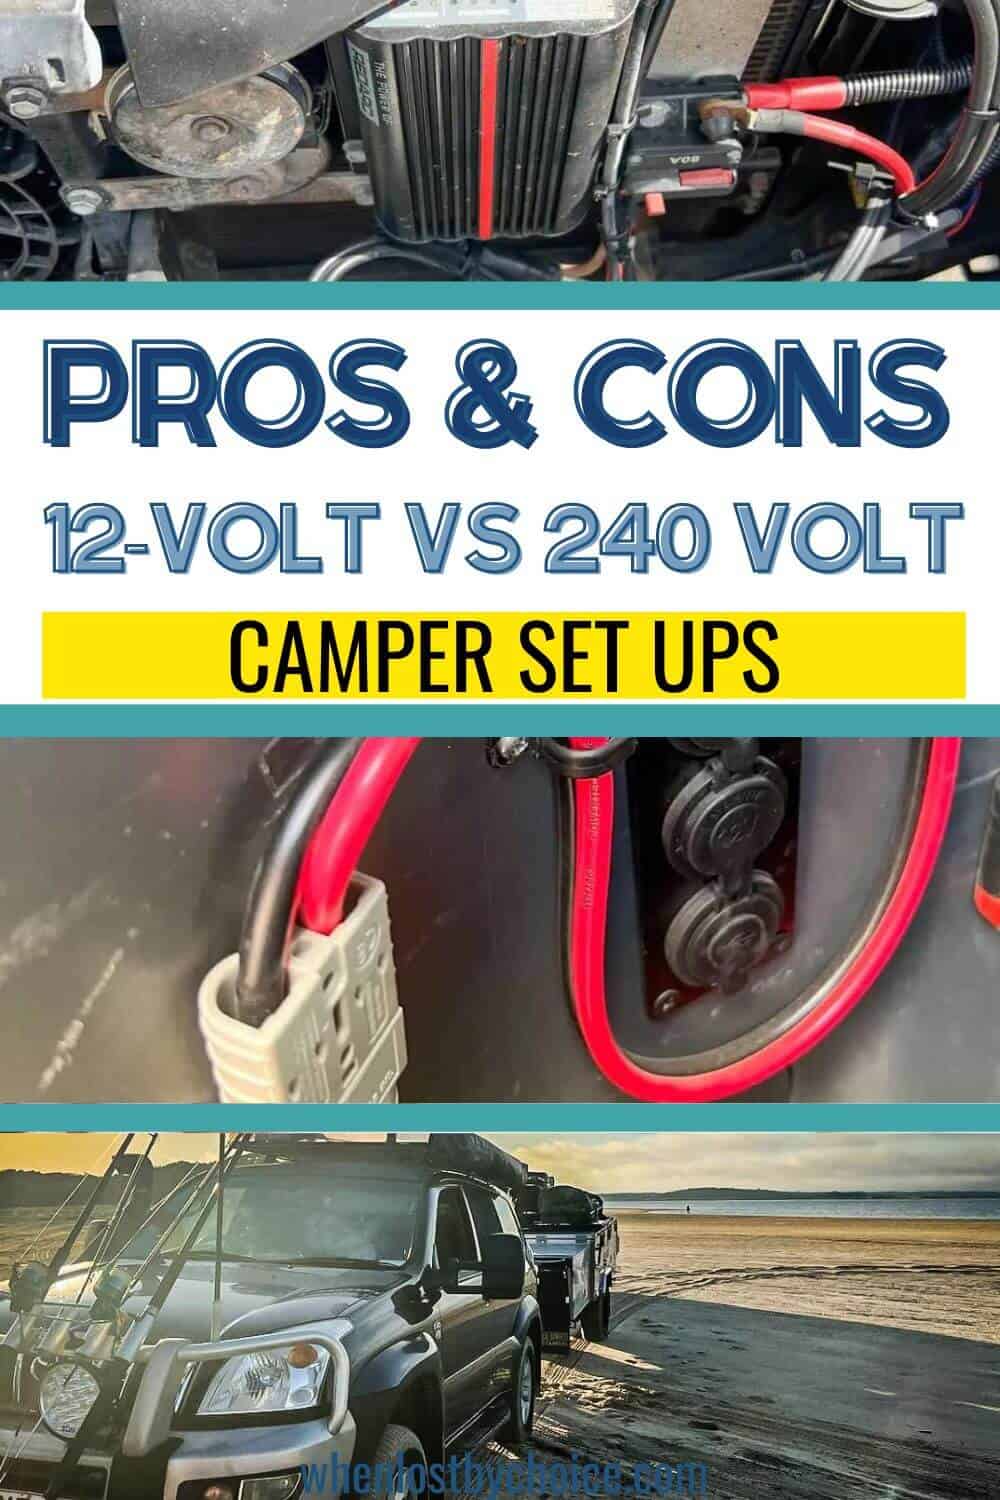
Are you torn between using 12 volt and 240 volt in your camper set up? Look no further, we have you covered and have also documented our own set-up below.
When choosing a camper, one of the most important decisions you will make is how you will power your appliances and devices. There are two main options: 12 volt vs 240 volt.
12 Volt Set-Ups
12 volt camper setups use batteries to power all of the appliances and devices in the camper. This includes things like the fridge, lights, fans, and laptops.
12 volt appliances are designed to run on a lower voltage than 240 volt appliances. This makes 12 volt appliances more efficient, which in turn produces less heat.
This makes them a good choice for campers who want to conserve energy, however, this means a longer charge time for your devices.
One of the benefits of a 12 volt setups is that it is more portable.
You can go off grid for longer periods of time without having to worry about running out of power. Additionally, 12 volt setups are generally less expensive than 240 volt setups.
However, there are also some drawbacks to 12-volt camper setups.
One is that they can be limited in terms of the appliances and devices that they can power. For example, some larger appliances, like microwaves and air conditioners, may not be compatible with a 12 volt system.
Additionally, 12 volt batteries can drain quickly if you are using a lot of power, so you may need to carry a backup battery, generator or portable solar panels.
Another drawback; by having a portable solar panel, you will forever be “chasing the sun” to ensure maximum charge throughout the day.
240 Volt Set Ups
240 volt camper setups use an external power source, such as a campground hookup to mains power or a generator, to power the appliances and devices in the camper.
This means that you have access to a wider range of appliances and devices, including larger appliances like microwaves and air conditioners.
Additionally, 240 volt setups can provide more power than 12 volt setups, so you can run more appliances at the same time without overloading the system.
However, there are also some drawbacks to 240 volt campers setups. One is that they are less portable than 12 volt setups.
You will need to find a campground with 240 volt hookups if you want to use your appliances and devices.
240 volt setups can be more expensive than 12 volt setups, with a higher running cost as powered camp sites are also more expensive.
So this leads to the big questions…
Which Type of Camper Setup is Right for You?
The best type of electrical setup for your camper will depend on your individual needs and preferences.
If you plan on camping in remote areas and going off grid, a 12 volt campers setup is a good option. You will be required to adapt to minimal appliances, such as no microwave or air conditioner.
If you want to have access to a wider range of appliances and devices, or if you plan on camping in campgrounds with powered sites, a 240 volt campers setup is a better choice.
12 Volt Vs 240 Volt Pros & Cons
Here is a list summarizing the pros and cons of each type of camper setup:
12 Volt Pros
- more portable, with the ability to venture off grid
- less expensive (including the on going cost of booking unpowered sites)
- more environmental friendly, using the sun to power your batteries
- a simple system to manage and replace
12 Volt Cons
- limited in appliances and devices
- batteries can drain quickly with high powered devices
- frequently moving portable solar panels to chase the sun
- longer charge time for devices – a few days without sun can result in running the car to recharge the batteries
240 Volt Pros
- more appliances and devices available for 240 volt
- more power to run multiple appliances and devices at the same time
- standard charge time for devices
240 Volt Cons
- less portable, requiring mains power to charge batteries
- more expensive system and ongoing costs
- more storage and weight taken with the added inverters
- can be a confusing set up to operate if not educated in electrical systems
Now that we’ve hit you with the pro’s and cons, keep on reading if you’re interested in learning about our electrical set up:
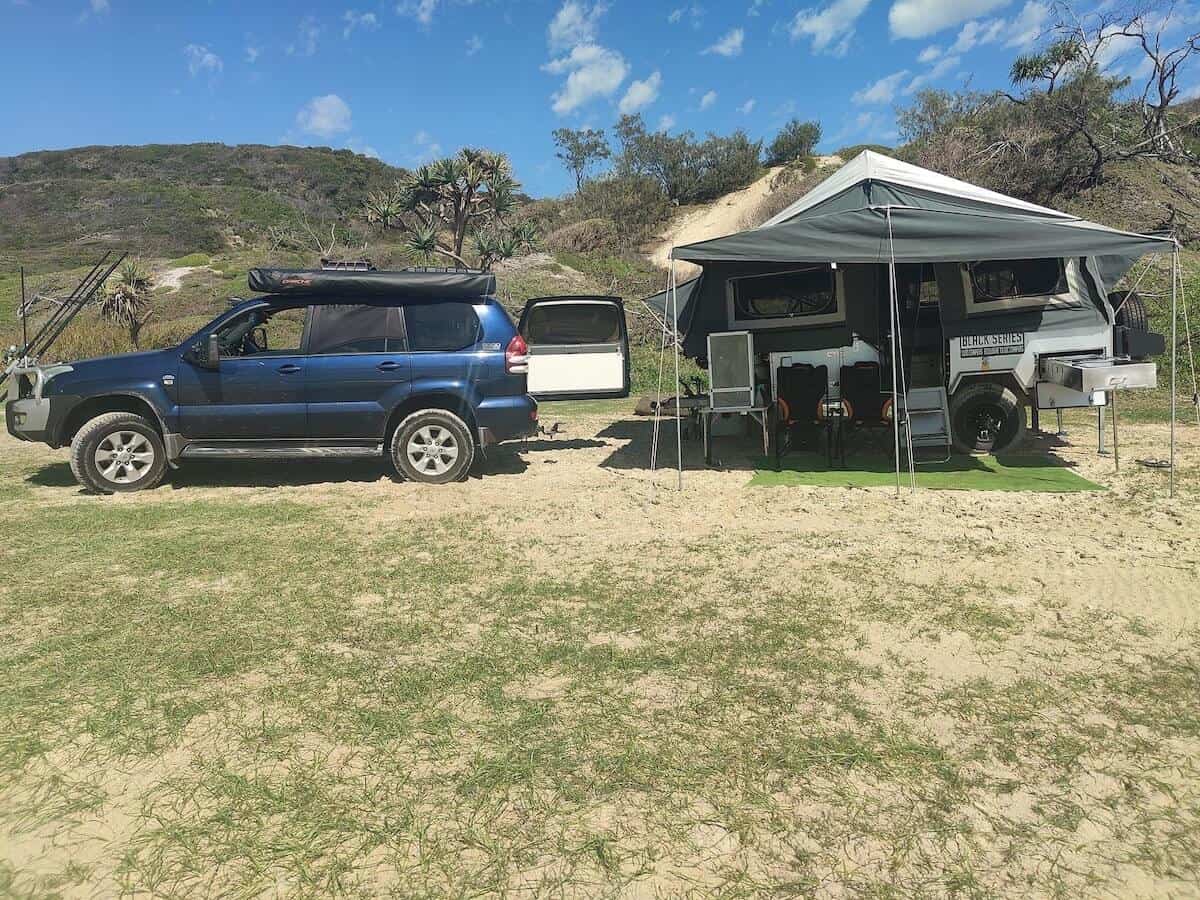
Our 12 Volt Electrical System
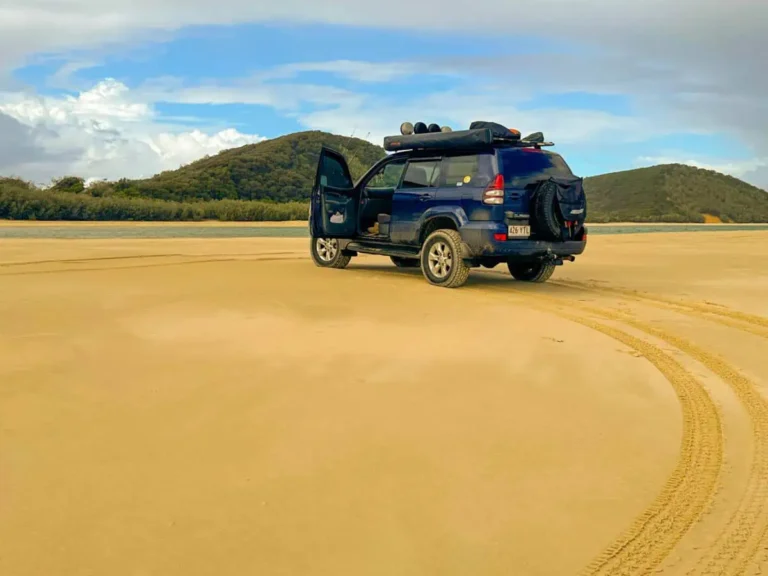
For us, it was an easy decision. While planning for our lap, we had every intention of camping off grid in secluded areas, such as National Park beach camping in Queensland.
Our original choice for the great lap was a slide on camper, which had the 240 volt inverter setup with a large deep cycle battery.
We soon realised, using 240 volt appliances drained the deep cycles quickly. Even with full sun with the solar panels charging the batteries, a few uses at night and the battery charge dropped significantly.
Fast forward a couple years and we purchased the our camper trailer set up.
We decided we didn’t need a microwave, or an air conditioner. Let’s run through the electrical system before we explain how we manage with our appliances and devices:
Our Vehicles Electrical System
We decided to install our 80L fridge/freezer in the back of our vehicle to make day adventures easier. By having our food supply with us at all times, we avoid spending additional money buying lunch.
This required some deciding on what electrical system to use in both our vehicle and camper trailer. See our below vehicles electrical system:
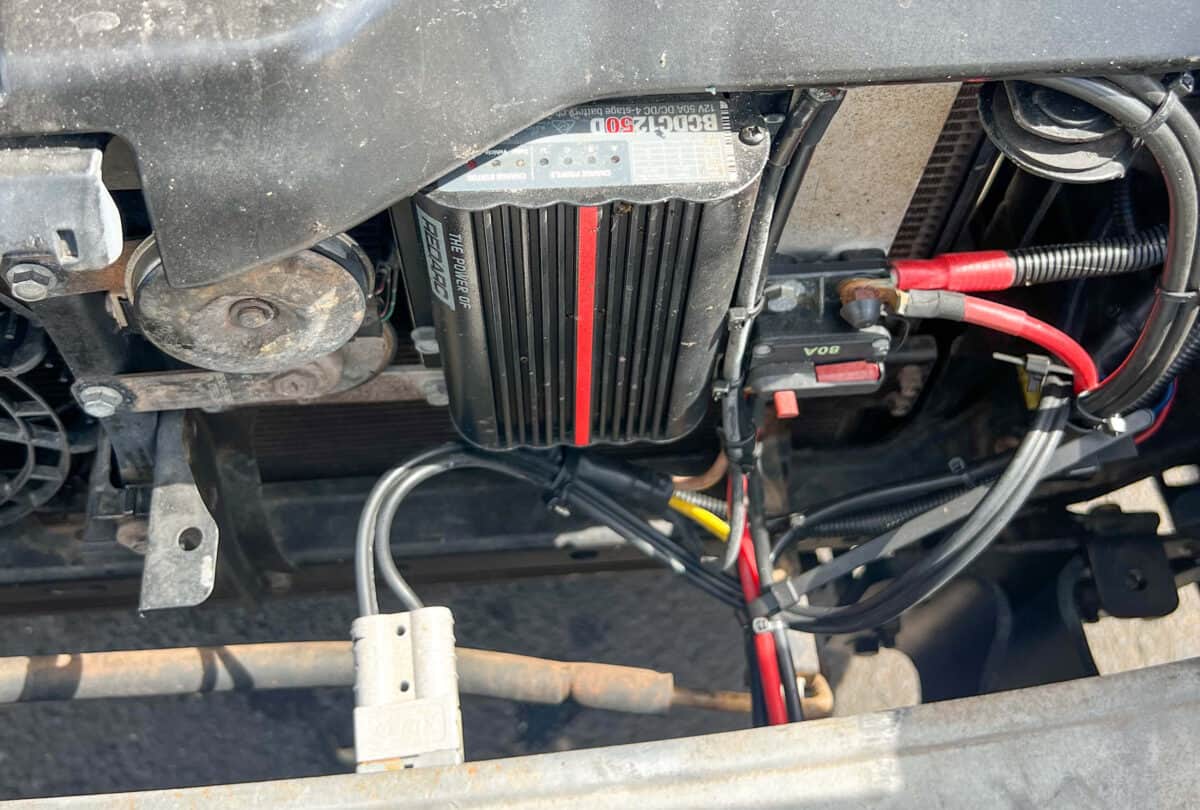
Redarc BCDC 1250 Charger
The Redarc BCDC 1250 Charger is installed in the car as a battery charger, designed to ensure the auxiliary battery is charged while driving or via solar panels when parked.
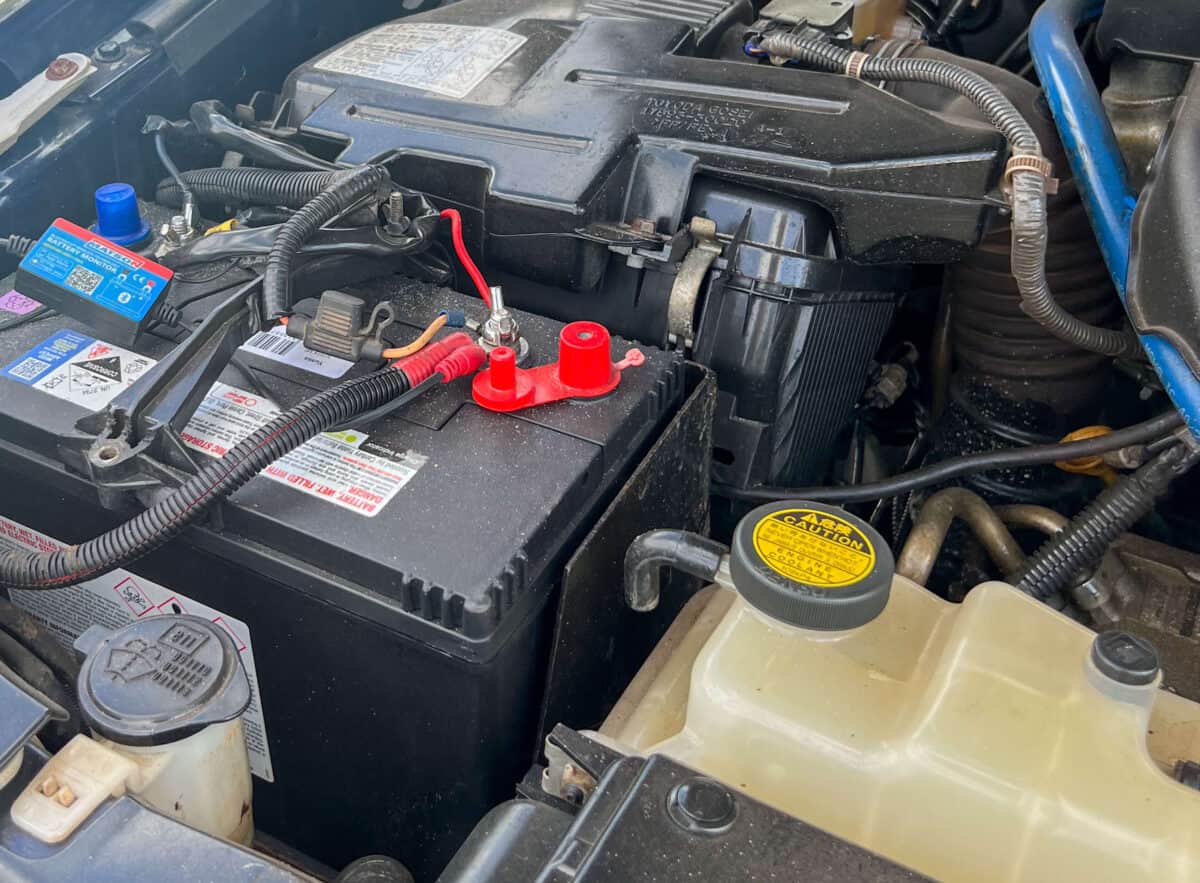
95Amh AGM Deep Cycle Battery
We have 2 95Amh AGM deep cycle batteries in the vehicle, solely to keep the fridge cold and occasionally charge additional devices.
The electrical system has been directly wired to the BCDC on an independent system. This means if an electrical fault occurs to the vehicles wiring, our fridge will still run.
A perfect example of this: our vehicle wiring faulted while holidaying on K’Gari/Fraser Island and due to the independent wiring, our fridge ran flawlessly.
200w Fixed Solar Panel
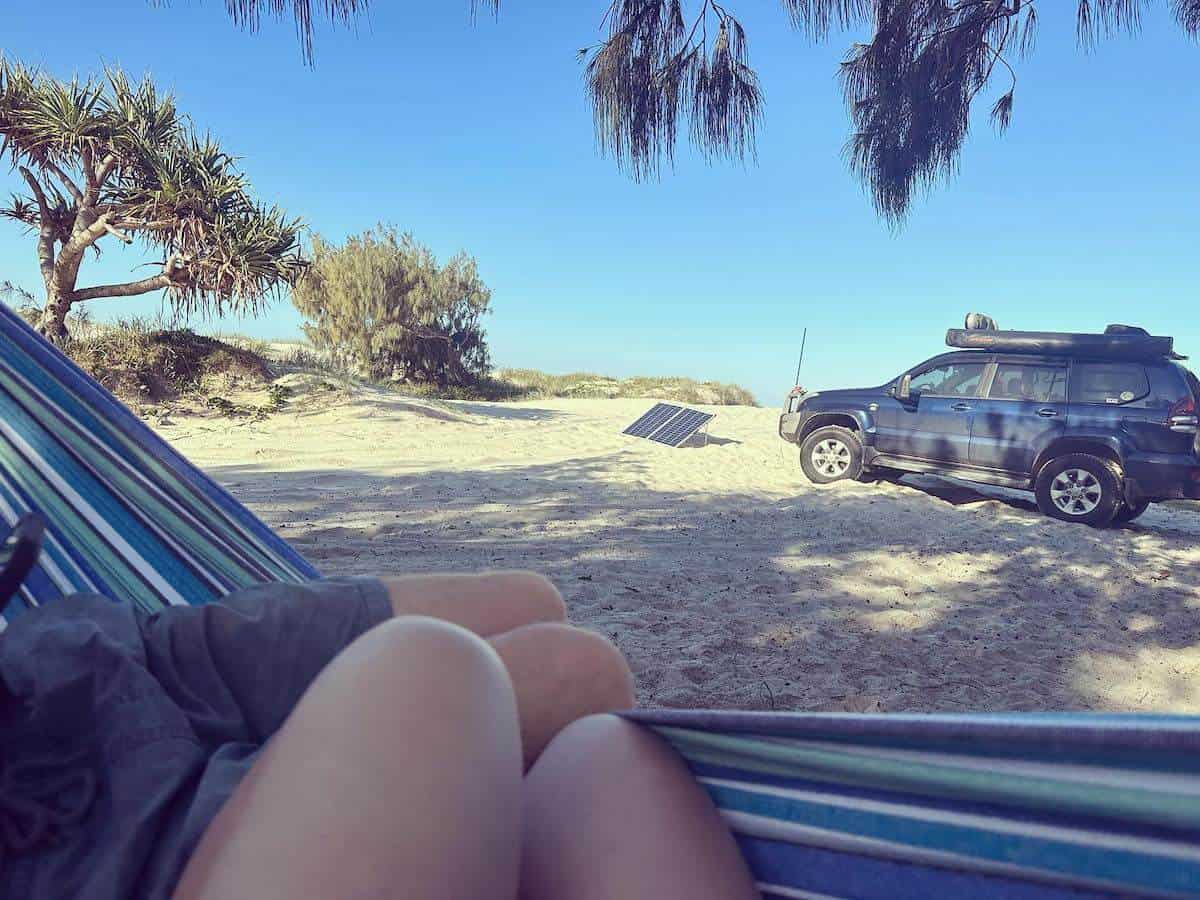
The 200w solar panel is fixed on the car roof which feeds directly through the BCDC charger.
The panel is attached by an anderson plug, however if the car is in the shade, we can attach an additional solar panel over moving the vehicle into direct sun.
We originally began with a 160w solar panel – which we soon realised this wasn’t enough to for our batteries.
The Extra’s
We sought professional services to install our electrical systems. During this process, the electricians installed 2 Anderson plugs (front and back) allowing us to plug in a solar panel with a solar regulator to add more solar charge.
This also means when the camper battery is full and the vehicle’s battery is running low, or vice versa, we can connect both the vehicle and camper together to ensure the batteries keep charged.
The electricians also installed multiple trip switches throughout the system to isolate both batteries in case of an electrical fault.
Plus, an additional independent electrical line to a USB and cigarette lighter plug/auxiliary power outlet was installed.
This also runs constantly with independent trip switches – meaning we can charge a phone, laptop or Makita batteries while the car is parked.
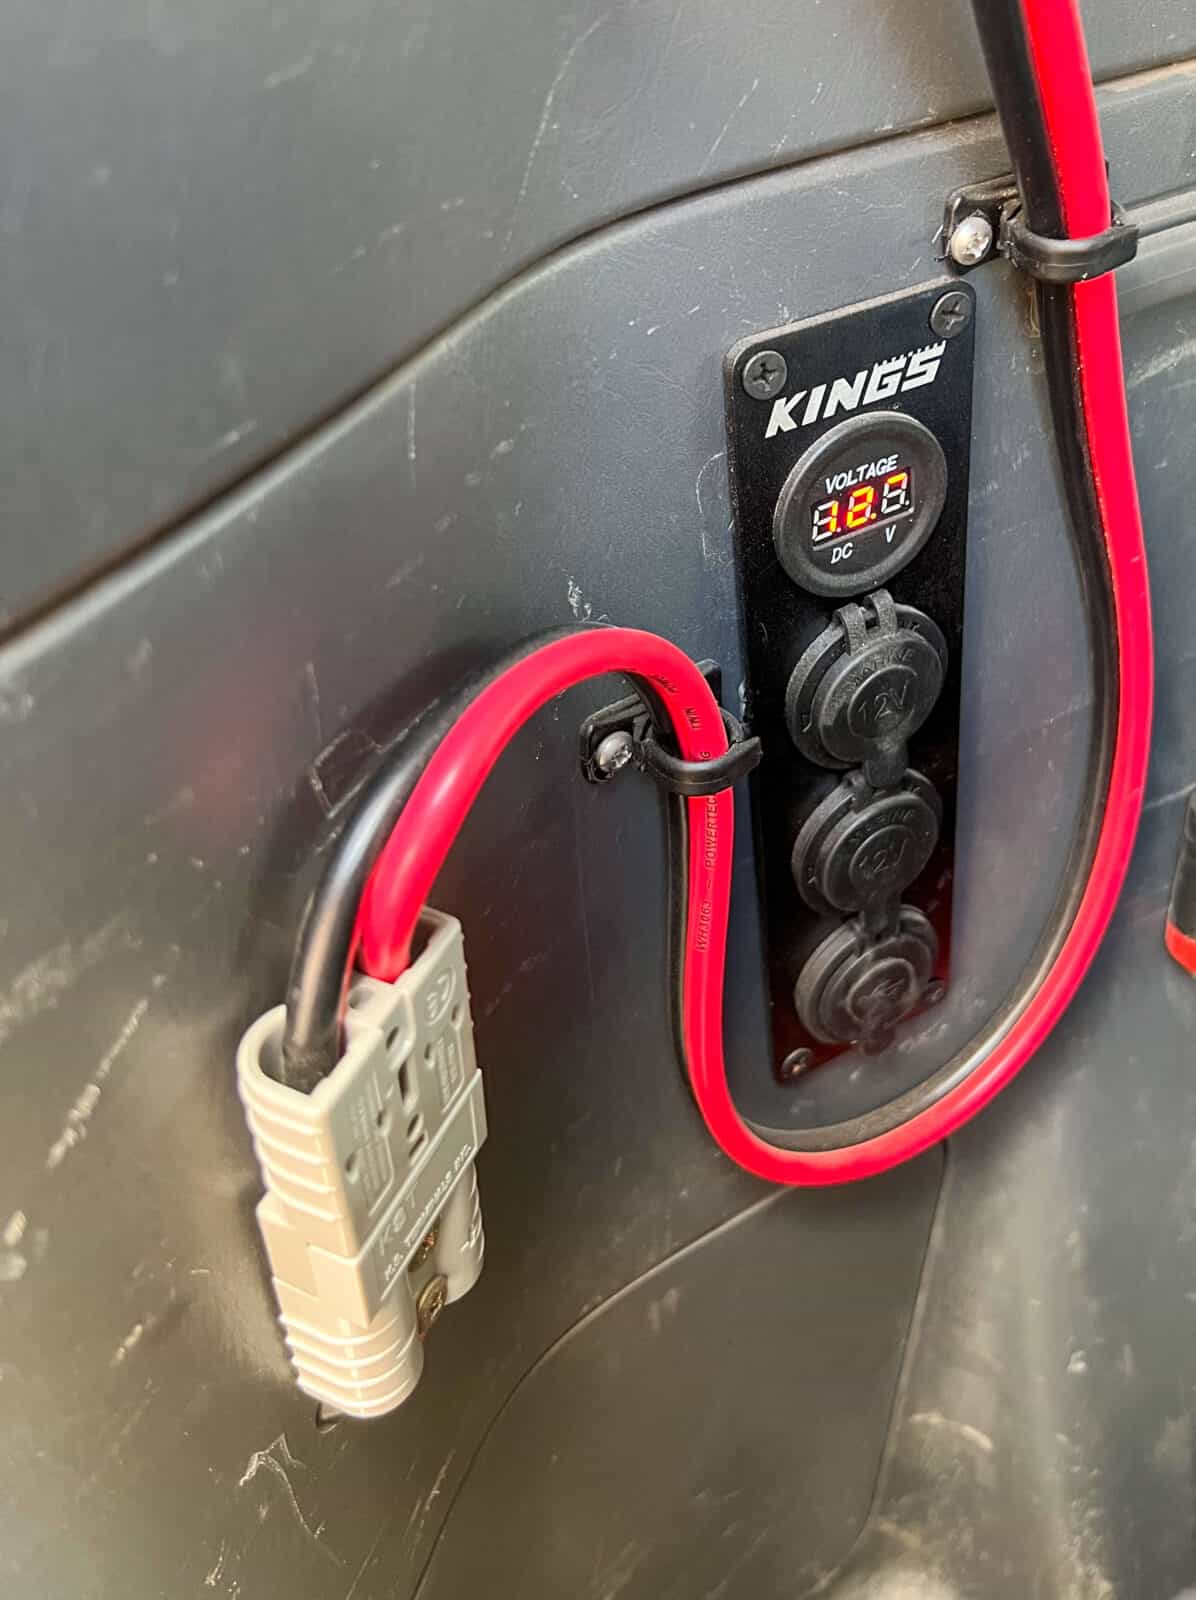
Our Campers Electrical System
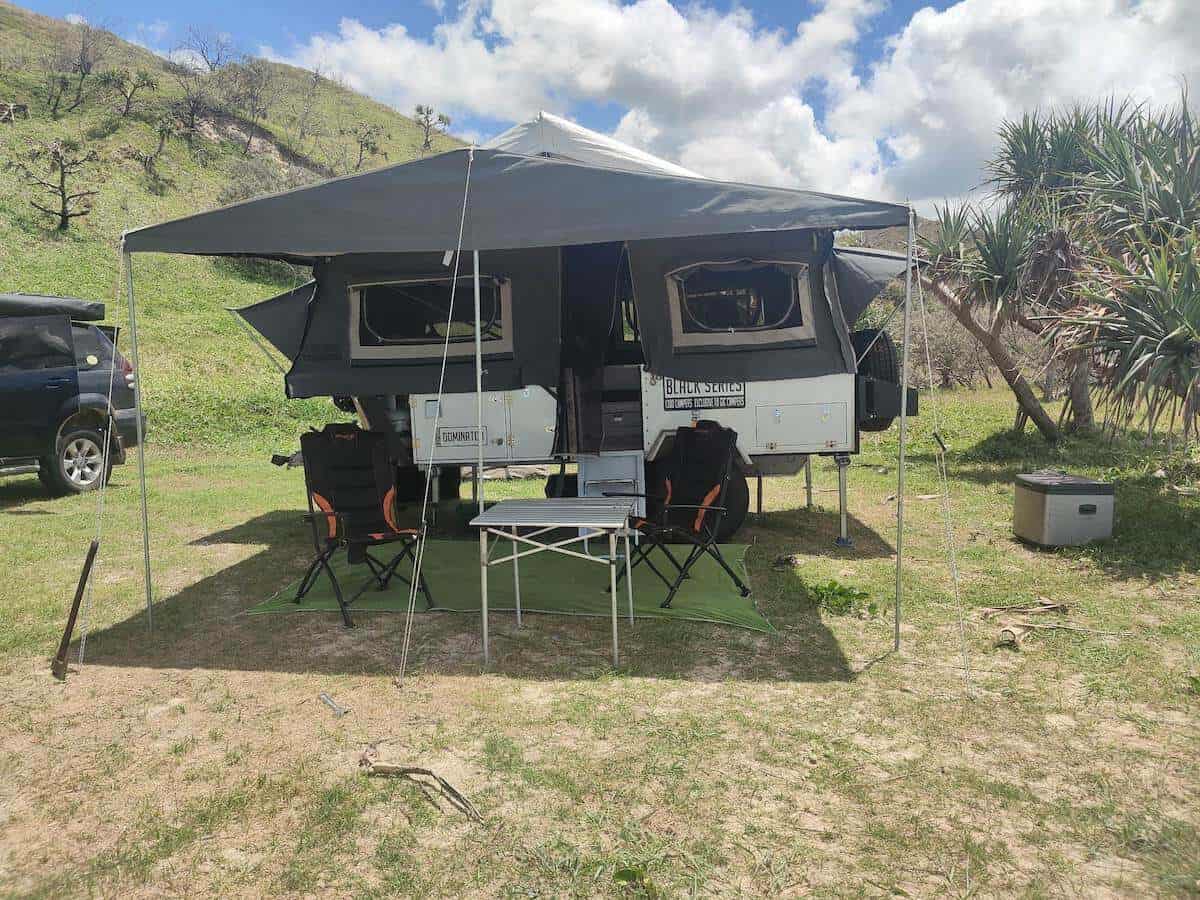
Our Black Series Dominator camper trailer came with the USB and cigarette lighter plug/auxiliary power outlets already installed.
For convenience, while completing some wiring replacements to the trailer, we requested some additional panels to be installed.
In addition to the device charging outlets, our camper has internal lighting, a power connection on the fridge slide and power to the water pump in the kitchen sink.
During the electrician’s work, we also changed the fridge slide power outlet to an Anderson, in case we decide to purchase a second small fridge.
Side note – we did decide to purchase a second fridge for drinks and additional food but soon learned the hard way that this particular fridge draws too much power for our system. Make sure to do your research as we assumed as this fridge was 1/3 the size of our main fridge, the power would be lower and this was not the case.
Instead of the fridge, we leave our “mixer” for our alcoholic beverages in the slide out drawers and now generate ice in our freezer with 2 ice trays to ensure we can still have a cold drink every now and then!
125Ah AGM Deep Cycle Battery (2)
By having two batteries, when our system is fully charged we have 250Ah. This really assists on cloudy weather days to help the car battery charge and keep the fridge running smoothly.
To ensure no electrical fault damages our appliances, we have additional fuses before the battery for safety purposes.
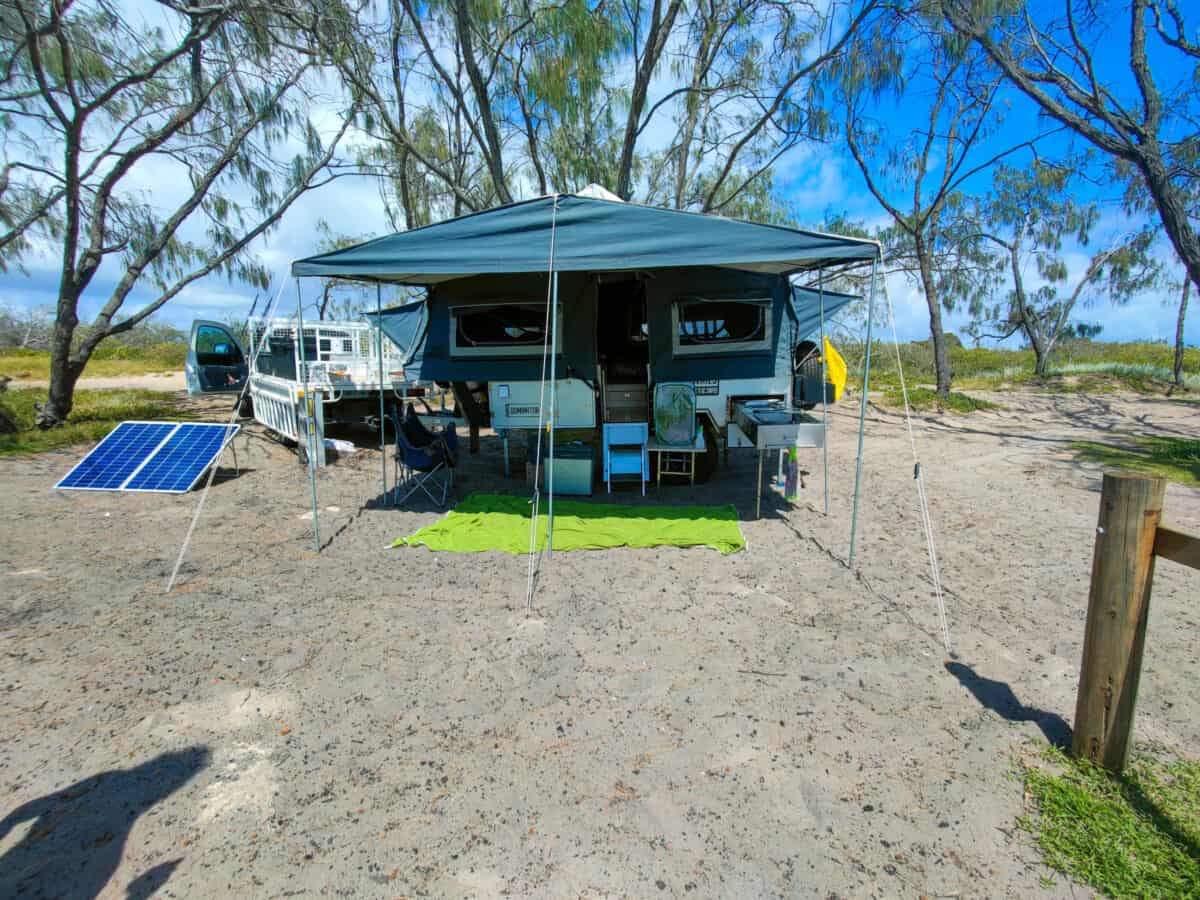
Portable 200w Solar Panel
We also have a portable solar panel to catch the sun rays. With only one Anderson plug located at the front of the camper trailer, we can either plug this solar panel straight into this connection, or to the front of the vehicle and connect the car and trailer to ensure all batteries are charging.
Eventually, we plan on installing an additional Anderson plug at the rear of the trailer so we can opt for parking the vehicle at the front or rear of the trailer for solar, depending on the sun.
So, that concludes our electrical set up in our camper and vehicle set up. This system keeps our car and devices charged as is our sole home as we embark in our lap of Australia.
We plan to increase our solar panels eventually to maximise our battery charge intake during the day.
Now, let’s get into what devices we use to make this system work:
Our Devices
We have a mixture of no electricity, USB and cigarette/auxiliary charging devices that make living with a 12 volt electrical system easy.
These devices are our personal preferences and may not fit in your needs or wants, but keep reading for how we make our devices work with our limited power source:
Aeropress
As we don’t have the power, weight capacity or space to bring the old coffee machine, we had to opt for a light, electrical friendly option.
I can confirm this took some experimenting with different devices before we stumbled across the Aeropress.
Our aeropress system uses no electricity and still brews the perfect cup of coffee. We may be all for “roughing it” but I was not willing to give up real coffee.
Jetboil or similar
We have the kmart version of the jetboil and it works flawlessly.
This device boils 1L of water in a short period of time. Most definitely, shorter than the pot on the gas cooker. This means we can have our coffee ready in no time and still watch the sunrise over the ocean!
Thermopot
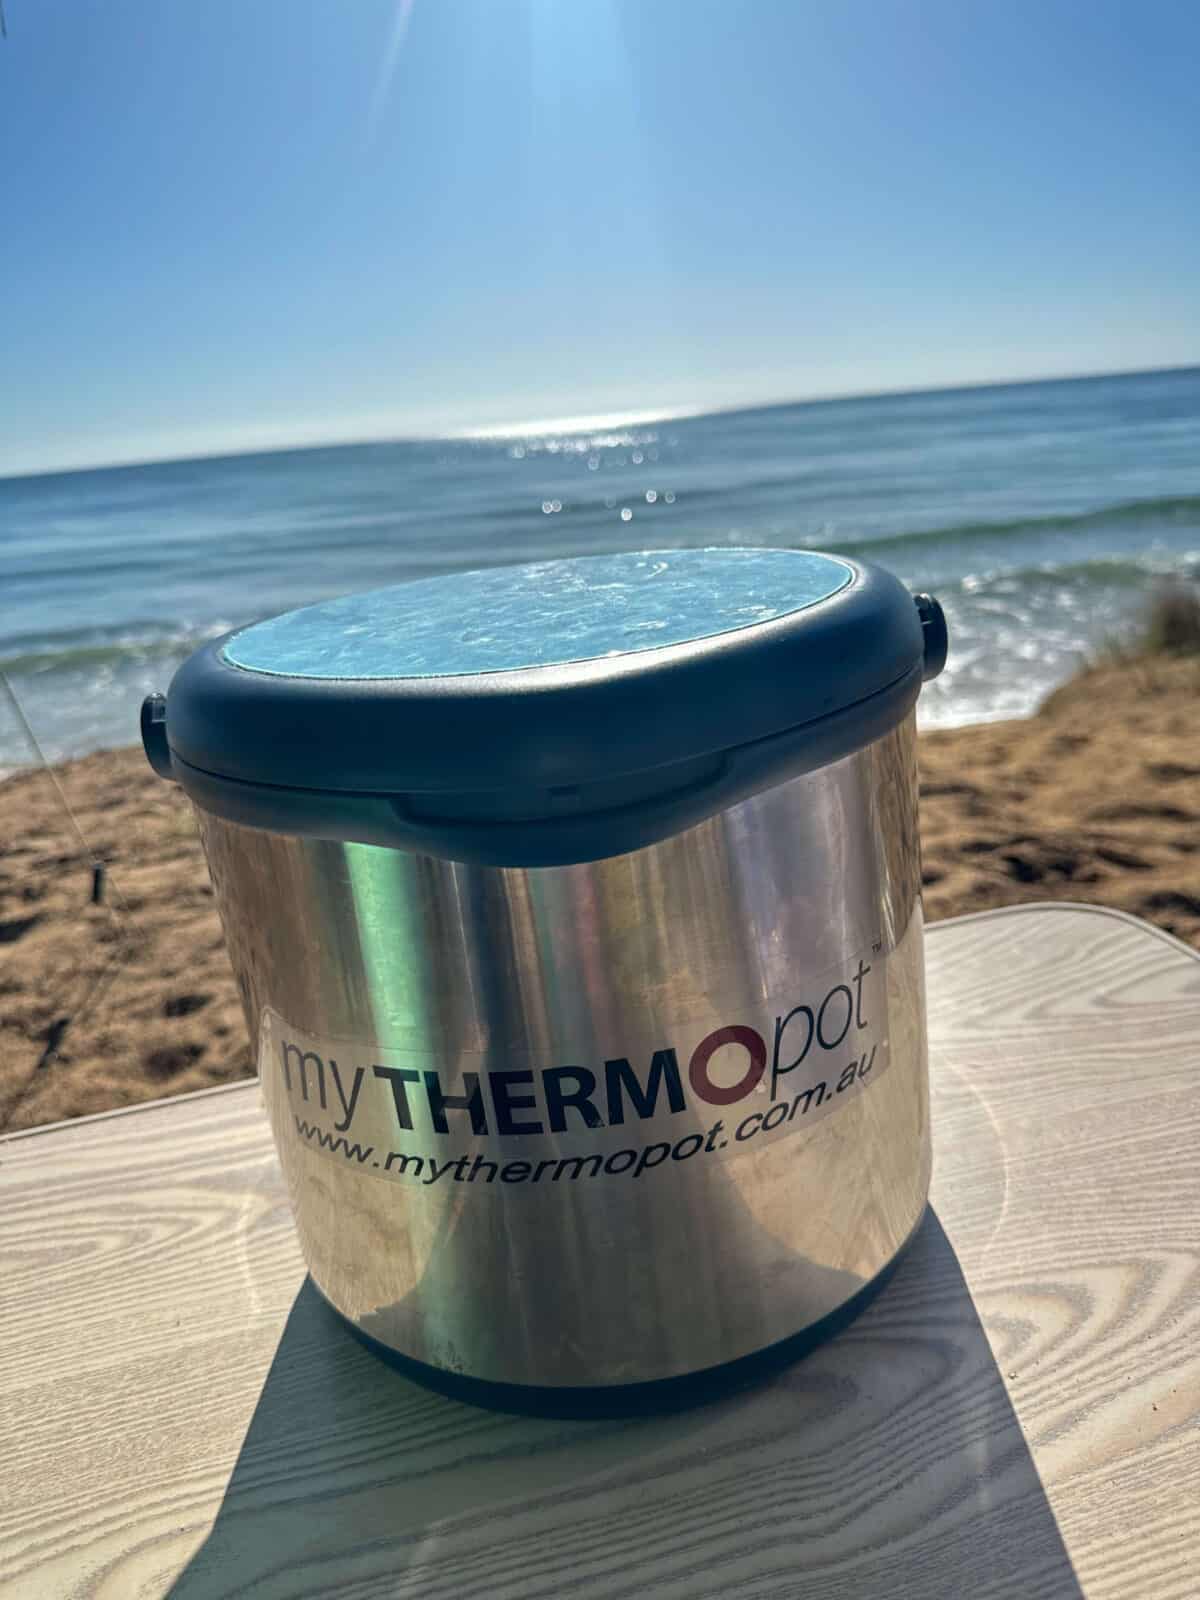
Having a thermal cooker has been a bit of a game changer for us. To explain this simply, it is much like a slower cooker without using power.
A simple thermal sleeve with a large and small pot and lid to slip inside.
You basically throw all the ingredients of your meal into the large pot, boil over the stove for approximately 15-30 minutes in the morning and pop the pots into the thermal sleeve.
Once dinner time arrives, your meal will be cooked perfectly. A simply efficient way to eat a great meal after a big day adventuring.
Lanterns and Lighting
We have 2 great lanterns that light up the outdoor area more than enough to see what you are doing at night.
They are both USB chargeable, so we ensure they are charged during the day.
We also have a cigarette lighter plug/auxiliary plug lighting system, which we only turn on while doing our dishes or cooking dinner to ensure we don’t drain our batteries.
Cast Iron Camp Oven
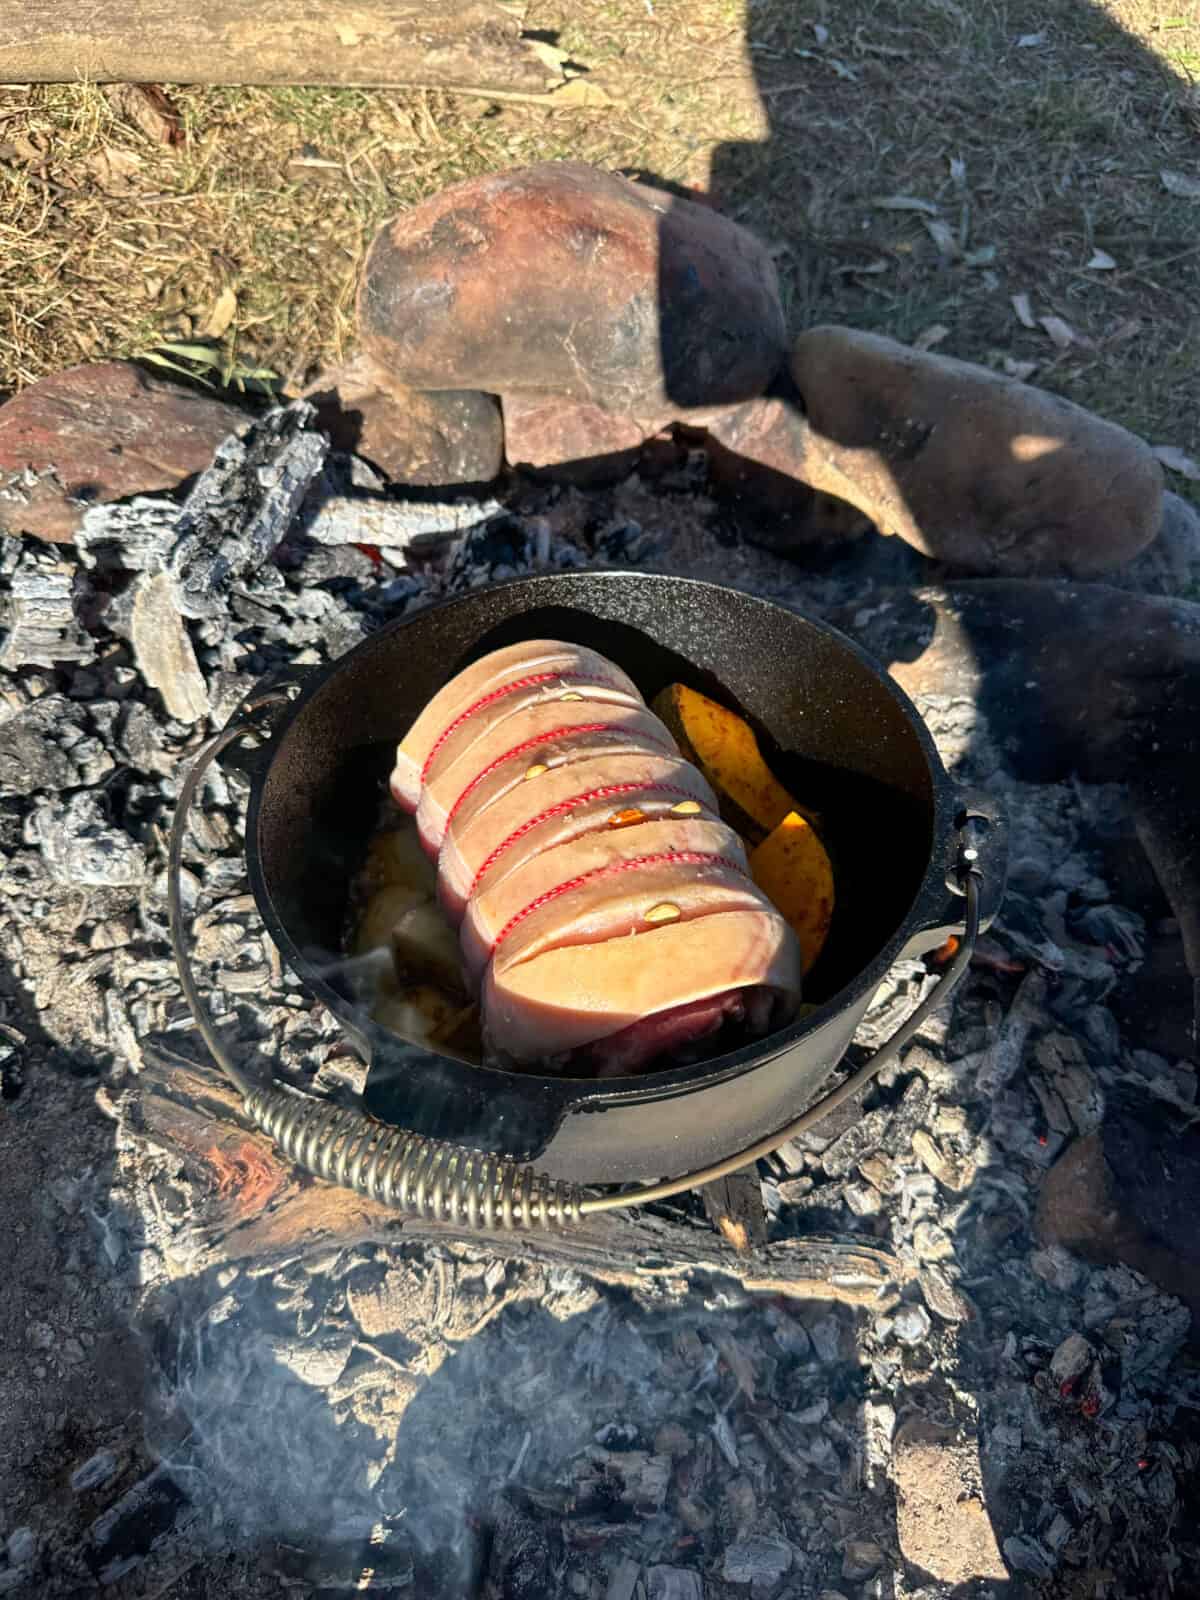
Believe it or not, our camp oven is our sole oven. Which means, we can only “oven cook” when we have a fire.
So far, this has worked perfectly for us, opting between the use of the thermopot and camp oven depending on where we stay and if it is legal to have a fire.
In our opinion, we prefer the camp oven over our oven from home and wouldn’t turn back if we had the choice.
12V Vacuum Sealer
We purchased a 12v vacuum sealer to ensure maximum space abilities in our freezer.
This does mean the device can only be used during the day, which works perfectly with our routine as grocery shopping is always completed during day light!
Makita Tools and 12v Battery Charger
We opted for the Makita tools due to the variety the brand has to offer.
Our personal range includes a drill, impact driver, leaf blower, chain saw, stick vacuum, radio and a 12v battery charger.
We have 4 batteries on hand at all times. All devices besides the chain saw take only 1 battery, which means we generally have most of them charged. We like to run off at least 2 fully charged at all times.
During longer drives or sunny days, we’ll cycle through charging the flat batteries.
Manual Washing Machine
Now this thing is tiny, fitting about 4-8 items of clothing. It also looks like a large lettuce spinner you’ll find at your local grocery store.
To save money on machine washing our clothes around Australia, we opted to invest in this manual washing machine.
When we have access to water in the local area, we can easily pop in a few loads of clothes. We also use wool wash as you are not required to rinse the load, saving on water usage (we only have a 100 litre water storage tank).
The device uses absolutely no electrical power as you manually spin the device using the handle to agitate the clothes. Once the “wash cycle” is complete, open the cap on the hose and spin again to dry.
Gas Hot Water System
So far, we have only used this system a handful of times for showering.
Our gas hot water system is connected to our pump and a gas bottle to make off grid a little easier when you have the water capacity.
We try to use the system during the day as it does use some power by accessing the pump to run the water, however a lot less than an electrical hot water system.
To wash our dishes, we use our pot on the gas cooker as by hitting the boiling temperature, the water stays hotter for longer.
How we make it work
Our golden rule for purchasing new devices; is it solar powered or USB chargeable? If not, we don’t want it.
Additionally, we ensure all our devices are charged throughout the day and also have a power bank to charge the necessity devices such as our lanterns and phones if we miss out on critical daylight.
Our larger drawing devices such as charging our Makita batteries or using our vacuum sealer are only used during the day in prime sun conditions to ensure no problems at night when we’re no longer charging our batteries.
Conclusion
This concludes our guide to 12 volt and 240 volt camper set ups.
We have personally made our 12 volt battery system work, but this may not be the right electrical system for your wants and needs.
Ultimately, the best way to decide which type of camper setup is right for you is to consider your individual needs and preferences. Talk to other campers, read reviews, and do your research before making a decision.
We hope we’ve assisted you with the big decision of deciding on the electrical system best suited for you. If you have any questions in regards to electrical systems or devices, leave a comment below.
Check out our full time-travel essentials here.
