Best Way To Make Coffee While Camping (From A Coffee Snob)
If you are someone who enjoys (needs) their morning cup of coffee before starting the day, the thought of roughing it while camping or travelling full time might be enough to give you the jitters! Making coffee while camping can be a bit of a challenge. You have to think about how you’re going to heat water, what kind of coffee you want to use, and how you’re going to store everything.
But it’s worth it when you finally get that perfect cup of coffee in the morning.
We know because we made it our mission to work out the best way to make coffee while camping – that actually tastes good! And then we put together our experience on coffee makers to help you do the same.

My Coffee Trials – The Best Way To Make Coffee While Camping
This is my personal trial and error with camping coffee. Nick calls me a coffee snob, but after years of having a coffee machine at home, I just cannot handle the thought of drinking instant coffee *shudders*.
Our goal was to find a coffee maker that would not sap electricity, made great coffee and did not take an hour for that morning wake up!
After three trials, I can confidently say we have our camping coffee set up ready for living on the road, and the best part is – no electricity required (unless you have it).
This makes it perfect if you have been looking for how to make coffee while camping without fire!
And this camp coffee maker isn’t just for camping either. This is the perfect travel coffee maker for any type of regular traveller! Car camping, long-term caravan or camper travel, frequent flyers who want to make sure they always have good coffee anywhere…
Check out our camping coffee journey below:
Trial 1 – Wacaco Espresso Coffee Machine
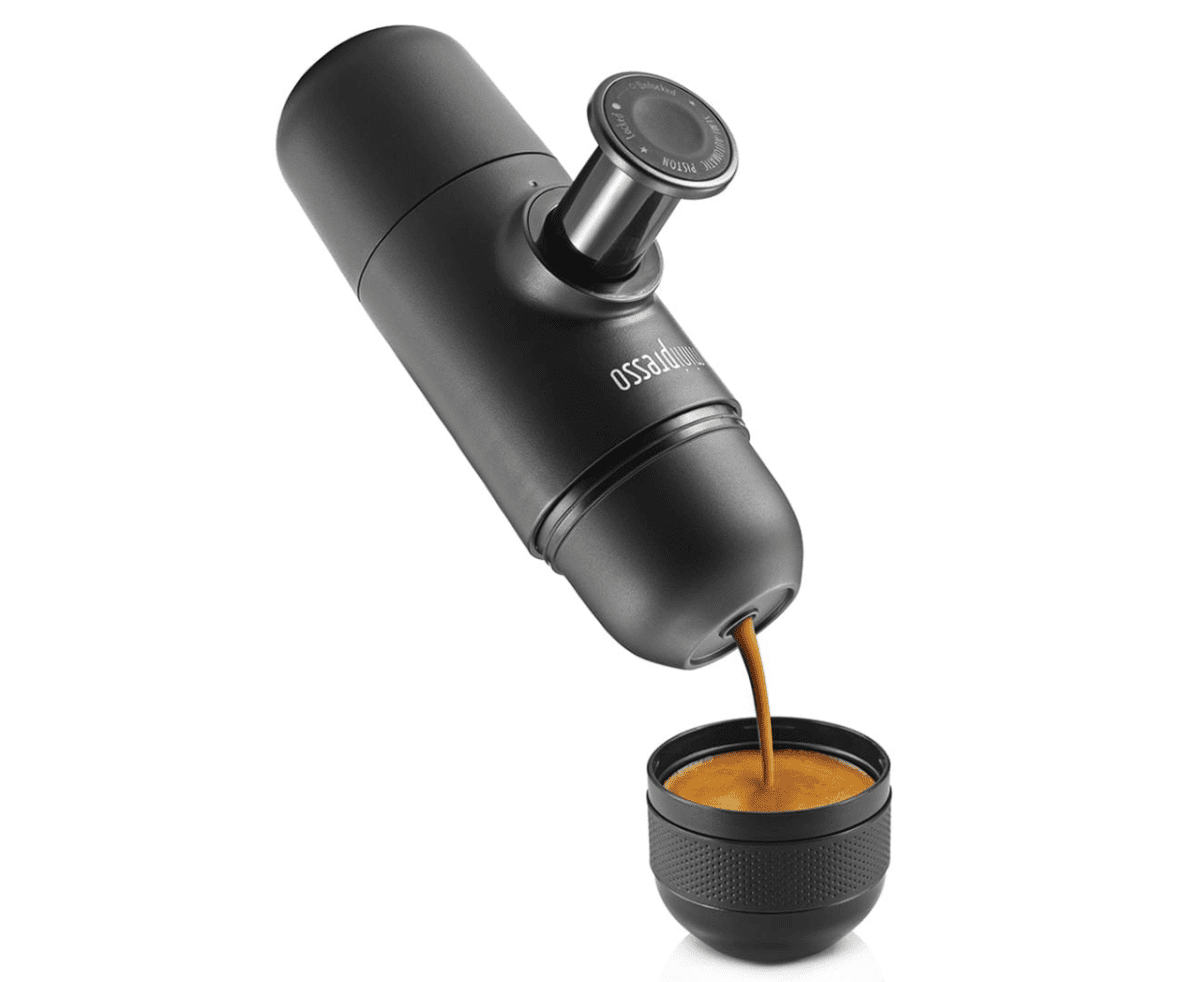
I noticed this little machine in BCF one day and headed home to do some research. With mixed reviews but some really good ones, I thought why not.. let’s give this a go!
The brewing process – add your ground coffee beans to Wacaco Portable Expresso Machine, press lightly and add your already boiled water to the correct section.
If you press too hard, the machine was stubborn and made the coffee extra bitter. Line the machine over your cup. Push the trigger from the side and coffee appears!
The fault could have definitely been me, but I found the coffee tasted bitter and it made a shot worth of coffee, you could add extra water but who wants watered-down coffee while camping?
It took me way too long to make enough freshly brewed coffee for a cup and then you need to heat the milk. This camping coffee maker was a no for me.
- Price range: $50 – $80
- Get it on Amazon AU
Trail 2 – Basic Percolator
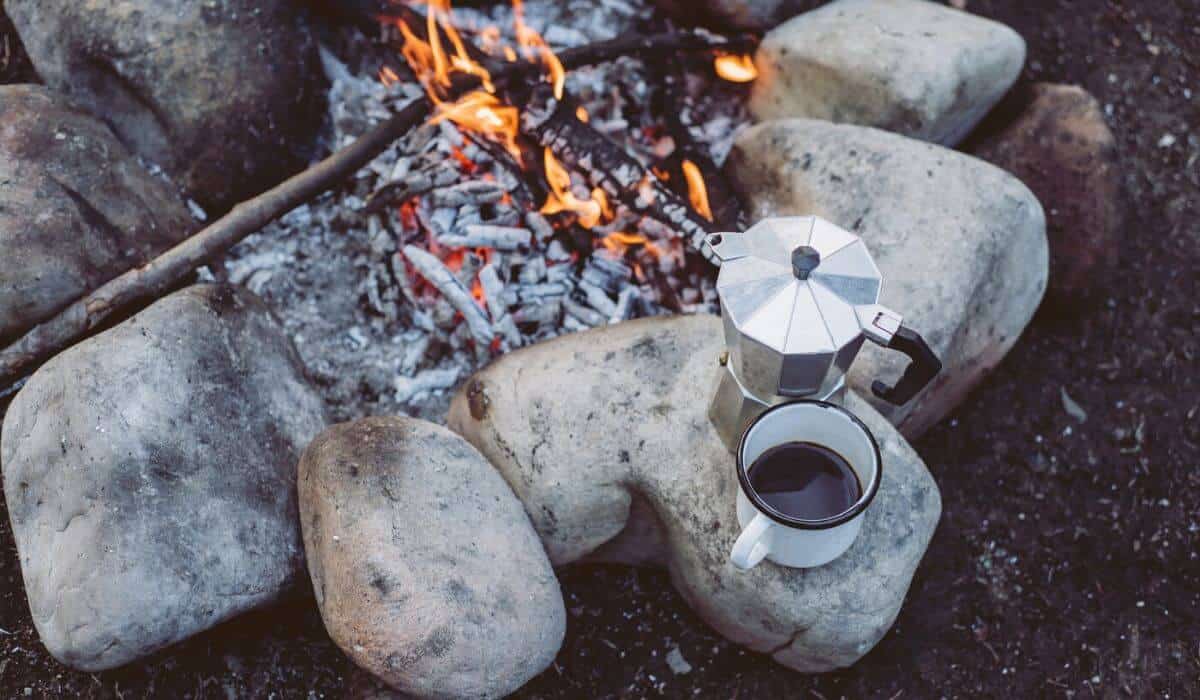
Next was a percolator purchased from Kmart here in Australia. You can also buy a much more fancy coffee percolator machine with the milk frother attached if this coffee maker is for you.
The brewing process – Add water to the bottom compartment and coffee beans into the basket. Place the percolator onto the camping stovetop and allow it to brew.
Who knows! It could have been the cheaply made materials, but we found it to be messy and again, while it could be human error, it made bitter coffee.
- Price range: $10 – $75
- Find similar on Amazon AU
Trial 3 – Aeropress
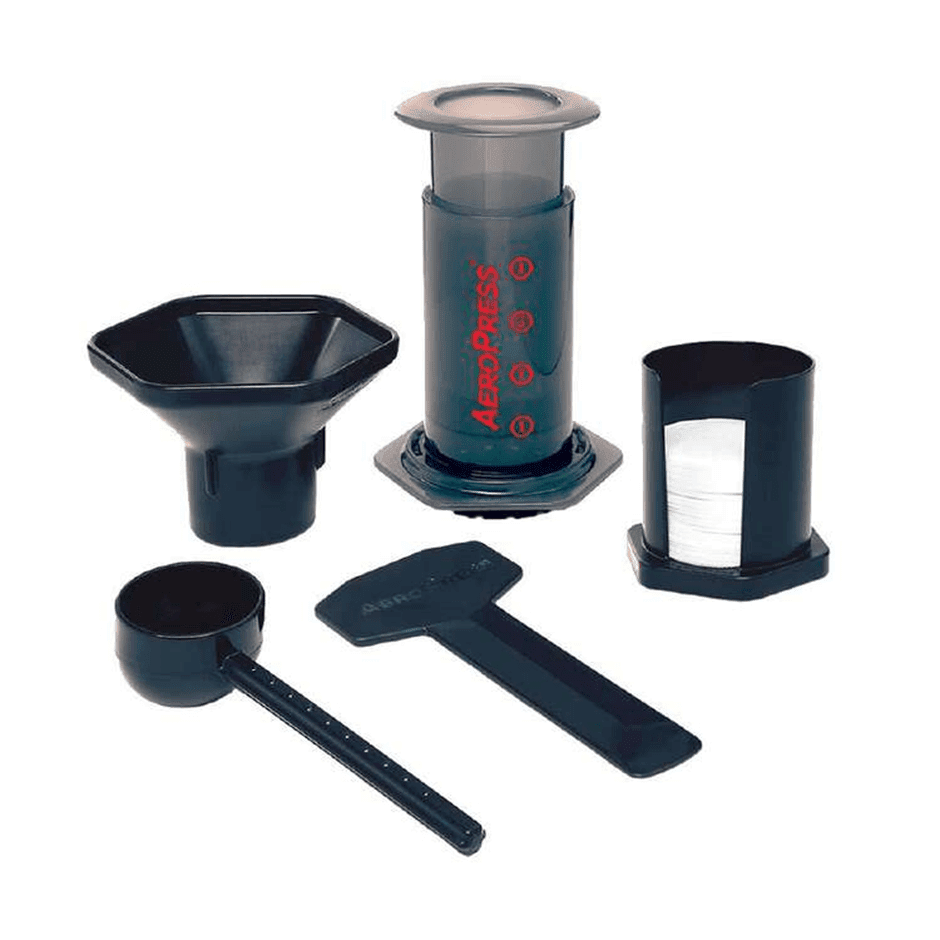
Nick came home from work one day raving about this little coffee device his boss owns – The Aeropress.
The brewing process – Heat your cold water on the stove or fire (kettle if you have electricity), add a filter and coffee grounds, let the beauty brew for a few moments and press.
BAM, you have a perfect freshly brewed coffee.
This was my favourite by far, but just to add to my fanciness, I wasn’t ready to convert to ‘flat’ coffee.
This took me to the purchase of a USB chargeable milk frother which has a second head for an electric whisk. I can confirm we have used the frother for about 20 coffees so far and still have not had to recharge this device!
You can also buy the individual parts for the Aeropress and a reusable coffee filter to avoid the consumables. This will save you money and be more sustainable for your next camping trip or life on the road.
Price range:
- $40 – $60 (Aeropress)
- $10 – $40 (USB milk frother)
- $5 – $10 (one use coffee filters in a 350 pack)
- $5 – 20 (reusable coffee filter)
The Verdict – What Is The Best Camp Coffee Maker?
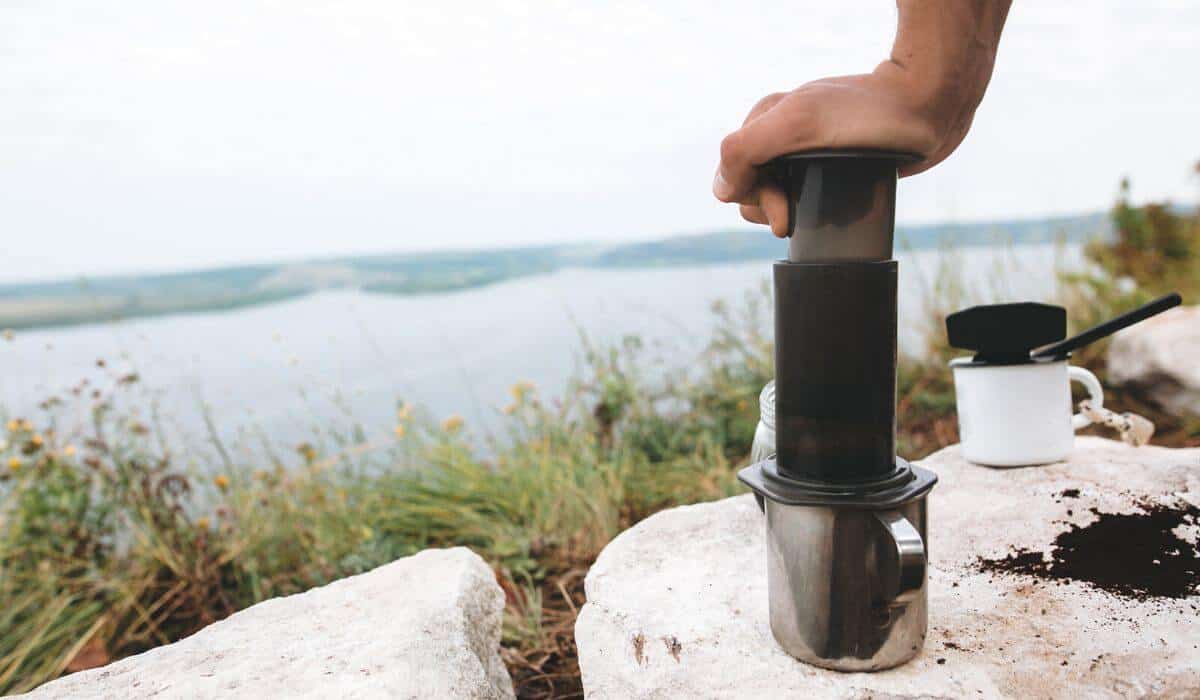
If you hadn’t guessed already, the coffee maker we have chosen is definitely the AeroPress so we can enjoy our morning brew with hot coffee that tastes amazing!
I love my Aero Press coffee maker and would almost say it’s better than the coffee machine I had while living in a house.
The press seems to remove any bitterness, which means you can purchase cheaper beans! This is a great camping coffee hack if you’re trying to lower your expenses.
We also have a manual grinder which we originally tweaked with a drill. However, over time we found the amount of time it took to grind the small amount of beans, was not worth it. As much as I didn’t want to (the thought of cockroach limbs in my coffee eeek) we have now converted to purchasing pre-ground coffee beans.
I’ll also add that Nick is a typical instant coffee and sugar drinker and on our 9 days on Fraser Island he only went back to his old ways for second coffees… which in my eyes is a huge statement for the Aeropress!
On addition to that, almost 3 months into our Lap of Australia and we haven’t purchased any instant coffee.. Nick has now converted to the coffee snob club!
So yes, the Aero Press is our pick for the best coffee machine for coffee snobs who love to camp!
Need camping food ideas? Check out these one-pot camping meals, make ahead camping desserts and easy camping desserts for your next camping trip!
We hope this article can help anyone else on the hunt for the perfect coffee maker for travelling!

